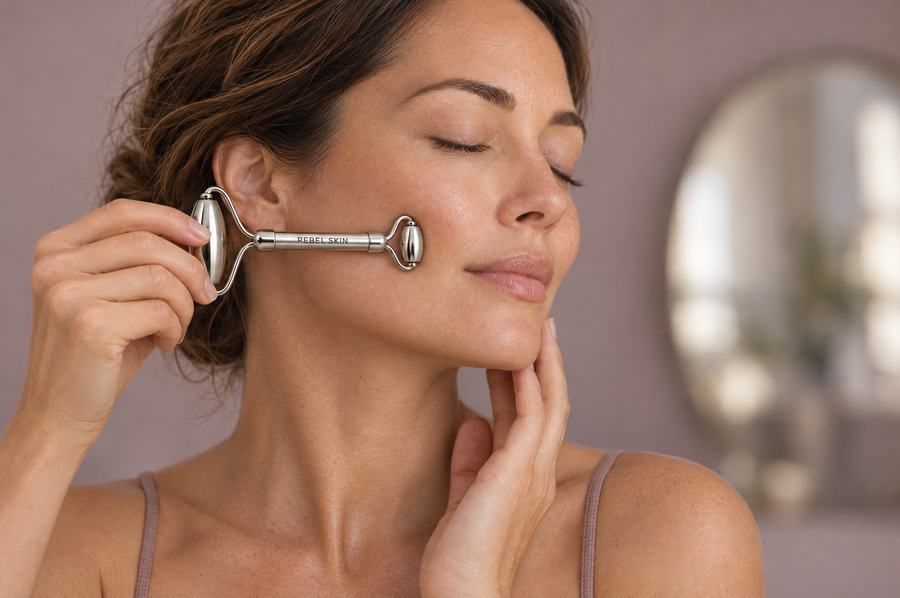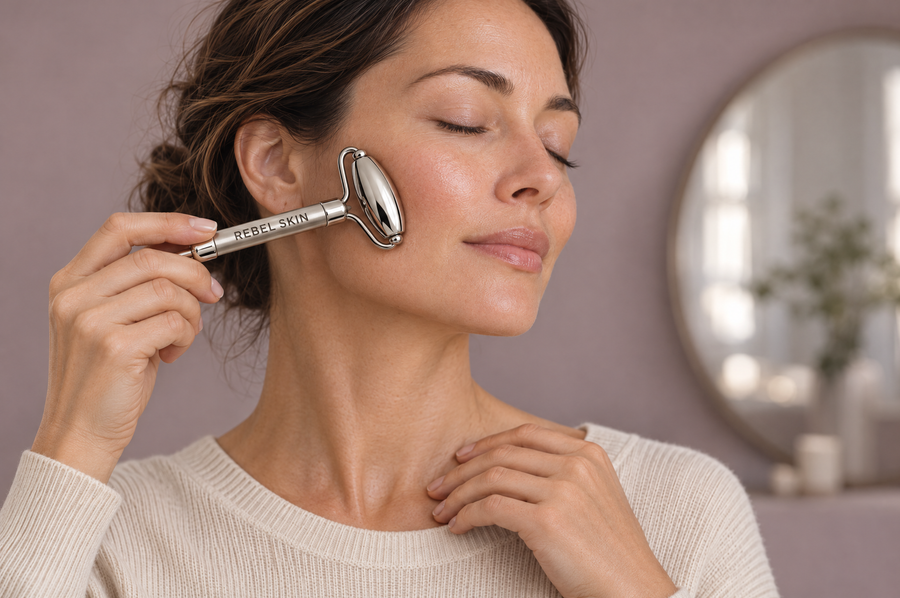
In use

A look at the tool in a calm daily ritual.

Woman using the Rebel Roller on her cheekWoman using the Rebel Roller on her cheek

How to use your face roller

Face rollers have been part of beauty routines for centuries. The rolling head glides over the skin, which makes it a light and quick option.

Intended use

Made for a light facial massage on the face and neck, in the morning or evening. It is a self-care ritual, not a medical treatment.

Step by step

  1. Cleanse your face and apply 3 to 5 drops of facial oil or serum.
  2. Start at the neck and roll upward.
  3. Roll from the centre of the face toward the ears.
  4. Finish with a light roll over the forehead.

How often: Daily or a few times a week, for a few minutes.

Safety

Keep the pressure light and stop if anything feels uncomfortable. Do not use on irritated, broken or sunburnt skin. If you have a skin condition, a metal allergy, or recent facial injections or surgery, ask your doctor first.

Care

After each use, wipe the roller with a soft, damp cloth, dry it and put it back in its packaging.

Where to use it

The face areas that suit this tool, with techniques and the muscles found in each area.

Forehead

A broad area that moves every time you raise your eyebrows. Long, slow strokes work well here.

Techniques
Upward and outward glide

The basic gua sha stroke. Hold the tool flat against the skin and glide from the centre of the face toward the ears, or from the neck up toward the jaw.

  1. Apply a few drops of facial oil or serum to clean skin.
  2. Hold the tool almost flat against the skin.
  3. Glide upward and outward in one slow, even stroke.
  4. Repeat 5 to 10 times on each area, then move on.

Pressure: Light to medium

Use light to medium pressure only. The skin should never be red or sore afterwards.

Light upward roll

Roll the tool over face and neck with light pressure, always moving upward and outward.

  1. Apply a few drops of facial oil or serum.
  2. Start at the neck and roll upward.
  3. Roll from the centre of the face toward the ears.
  4. Finish with a light roll over the forehead.

Pressure: Light

Keep the pressure light and skip areas with irritated or broken skin.

Muscles in this area
Frontalis

Keep the pressure light and stay away from the hairline if your scalp is sensitive.

Upper cheeks

The cheekbone area, home to the muscles you use to smile. Glide from the nose toward the temples.

Techniques
Upward and outward glide

The basic gua sha stroke. Hold the tool flat against the skin and glide from the centre of the face toward the ears, or from the neck up toward the jaw.

  1. Apply a few drops of facial oil or serum to clean skin.
  2. Hold the tool almost flat against the skin.
  3. Glide upward and outward in one slow, even stroke.
  4. Repeat 5 to 10 times on each area, then move on.

Pressure: Light to medium

Use light to medium pressure only. The skin should never be red or sore afterwards.

Light upward roll

Roll the tool over face and neck with light pressure, always moving upward and outward.

  1. Apply a few drops of facial oil or serum.
  2. Start at the neck and roll upward.
  3. Roll from the centre of the face toward the ears.
  4. Finish with a light roll over the forehead.

Pressure: Light

Keep the pressure light and skip areas with irritated or broken skin.

Gliding cup

Facial cupping with light suction. Always keep the cup moving over a layer of facial oil.

  1. Apply a layer of facial oil so the cup glides.
  2. Squeeze the cup, place it on the skin and release for light suction.
  3. Glide slowly from the centre of the face toward the ears.
  4. Finish down the side of the neck, then remove the cup.

Pressure: Light

Light suction only, and never stay in one spot. Overuse can irritate the skin. Stop if anything feels uncomfortable.

Muscles in this area
Zygomaticus majorZygomaticus minorLevator labii superioris

Light to medium pressure. Keep a cup moving at all times.

Mid cheeks

The soft area between the cheekbone and the jaw. Long, slow strokes work best.

Techniques
Upward and outward glide

The basic gua sha stroke. Hold the tool flat against the skin and glide from the centre of the face toward the ears, or from the neck up toward the jaw.

  1. Apply a few drops of facial oil or serum to clean skin.
  2. Hold the tool almost flat against the skin.
  3. Glide upward and outward in one slow, even stroke.
  4. Repeat 5 to 10 times on each area, then move on.

Pressure: Light to medium

Use light to medium pressure only. The skin should never be red or sore afterwards.

Gliding cup

Facial cupping with light suction. Always keep the cup moving over a layer of facial oil.

  1. Apply a layer of facial oil so the cup glides.
  2. Squeeze the cup, place it on the skin and release for light suction.
  3. Glide slowly from the centre of the face toward the ears.
  4. Finish down the side of the neck, then remove the cup.

Pressure: Light

Light suction only, and never stay in one spot. Overuse can irritate the skin. Stop if anything feels uncomfortable.

Muscles in this area
BuccinatorRisorius

Light to medium pressure.

Jawline and neck

A popular area for gua sha and cupping. Work from the collarbone up toward the jaw and ears.

Techniques
Short jawline strokes

Short, slow strokes along the underside of the jaw, using the curved edge of the tool.

  1. Place the curved edge under the chin.
  2. Glide along the jawbone toward the ear.
  3. Finish with a stroke from the collarbone up the side of the neck.

Pressure: Light

Keep the pressure light on the neck and avoid pressing on the front of the throat.

Gliding cup

Facial cupping with light suction. Always keep the cup moving over a layer of facial oil.

  1. Apply a layer of facial oil so the cup glides.
  2. Squeeze the cup, place it on the skin and release for light suction.
  3. Glide slowly from the centre of the face toward the ears.
  4. Finish down the side of the neck, then remove the cup.

Pressure: Light

Light suction only, and never stay in one spot. Overuse can irritate the skin. Stop if anything feels uncomfortable.

Light upward roll

Roll the tool over face and neck with light pressure, always moving upward and outward.

  1. Apply a few drops of facial oil or serum.
  2. Start at the neck and roll upward.
  3. Roll from the centre of the face toward the ears.
  4. Finish with a light roll over the forehead.

Pressure: Light

Keep the pressure light and skip areas with irritated or broken skin.

Muscles in this area
PlatysmaSternocleidomastoid

Light pressure on the neck. Avoid the front of the throat and stop if you feel dizzy.

Train it with the Face Yoga App

Pair your tool massage with guided face exercises. These moves are in the app.

Forehead Smoother

Raise the brows against light finger resistance, with the skin held flat.

Forehead · Holds of about 5 to 10 seconds

Cheek Lifter

Smile with an O-shaped mouth to work the cheek muscles.

Upper cheeks · Holds of about 5 to 10 seconds

Upward Neck Kiss

Tilt the head back and pucker toward the ceiling to work the neck.

Jawline and neck · Holds of about 5 to 10 seconds

Get the app

Frequently asked questions

Do I need a face oil or serum?

We recommend a few drops of face serum or a light facial oil on clean skin, so the tool glides smoothly.

How long does a session take?

A few minutes is enough. Rebel Skin tools are made for a quick ritual that fits into your morning or evening routine.

Can I keep my tool in the fridge?

Our stainless steel tools can be used cool or at room temperature. For an extra soothing, cooling effect, keep them in the fridge for a few minutes before use. Do not put them in the freezer.

How do I clean my tool?

Clean it after each use with warm, soapy water or a soft, damp cloth, then dry it and store it in a clean place. The Materials and care section above has the details for your tool.

Can I use it on sensitive skin?

Start with light pressure and test on a small area first. If you have a known metal allergy, check with your doctor before use. Stop if you notice redness, irritation or discomfort, and do not use the tool on irritated, broken or sunburnt skin.

Can I use it if I am pregnant, have a skin condition or recent injections?

We cannot give medical advice. If you are pregnant, have a skin condition, or have had facial injections or surgery recently, please ask your doctor before using a facial tool. Rebel Skin tools are for self-care and are not a medical treatment.

Can I return it if it is not right for me?

Yes. You may request a return within 30 days after your item is delivered. Return shipping is free and we provide the label. Please contact us at hello@rebelskin.com before sending anything back. Items must come back unused and in their original packaging.

Do the tools replace face exercises?

No, they are two different things that go well together. The tools are for a gentle massage. Face exercises train the muscles with guided moves. The Face Yoga App has exercises you can combine with your tool.

When is the best time to use the roller?

Whenever suits you. Many people use it in the morning, before applying makeup, or in the evening. Roll lightly upward and outward over your serum or oil.

  • Premium Stainless Steel

    Gua sha, rollers and cupping tools crafted from premium stainless steel.

  • 30-Day Returns

    Free return shipping within 30 days of delivery.

  • Easy Daily Ritual

    Simple tools and guided routines: just five minutes a day.

  • Delivery at checkout

    Delivery options and costs are shown at checkout.